DIY 3D Printer Filament Dry Box
Work in progress
This section is work in progress. Please feel free to suggest corrections or additions.
YouTube video
DIY DryBox is OpenSource OpenHardware filament drying solution aka 'dry box' for your 3D printing filament.
This DIY version allows you to build your own custom filament dryer or to upgrade your existing one.
Disclaimer
This is a DIY kit for a filament dry box that has the ability to potentially melt or cause fire.
You are responsible for using the filament dryer safely.
You accept the risks of using a heated device, including the risk of property damage, injury, or fire, especially if you leave it unattended or use it in an unsafe place.
DIY 3D Printer Filament Dry Box
As the name suggests this is a DIY (Do-It-Yourself) build.
You will need to source all the parts, build your own enclosure and then finally assemble your drybox.
Buy DIY DryBox kit (PCBA + Sensor)
The DIY DryBox kit is available for purchase on the web shop
Build your own (Source Code)
DryBox is open-source, open-hardware project.
You can find all the source files at the project's repository[TBD].
Key features
- Precise control of the Dry Box internal temperature
- Control the maximum allowed heater temperature
- Temperature and humidity sensors for inside and outside of the Dry Box
- Dedicated 5V/12V fan connector for air circulation and/or venting
- Built in WebUI/GUI available for manual control and monitoring
- WebAPI available for integration and automation
- Control and monitor your DryBox over WiFi using your pc/phone/tablet
- USB-C connector for data and firmware upgrade
- Open source API for communication and control
- Open source and open-hardware design
- Easily integrate into your smart home or automation
- Supports up to 60W heater (12V 5A)
Board specification
- Board dimensions: 45mm x 63mm x 30mm
- RoHS, Lead free
What's included in the Web Shop DIY kit
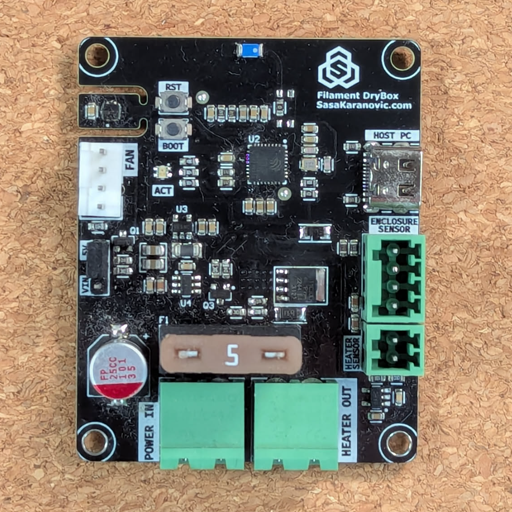
- 1x DryBox v2 PCBA
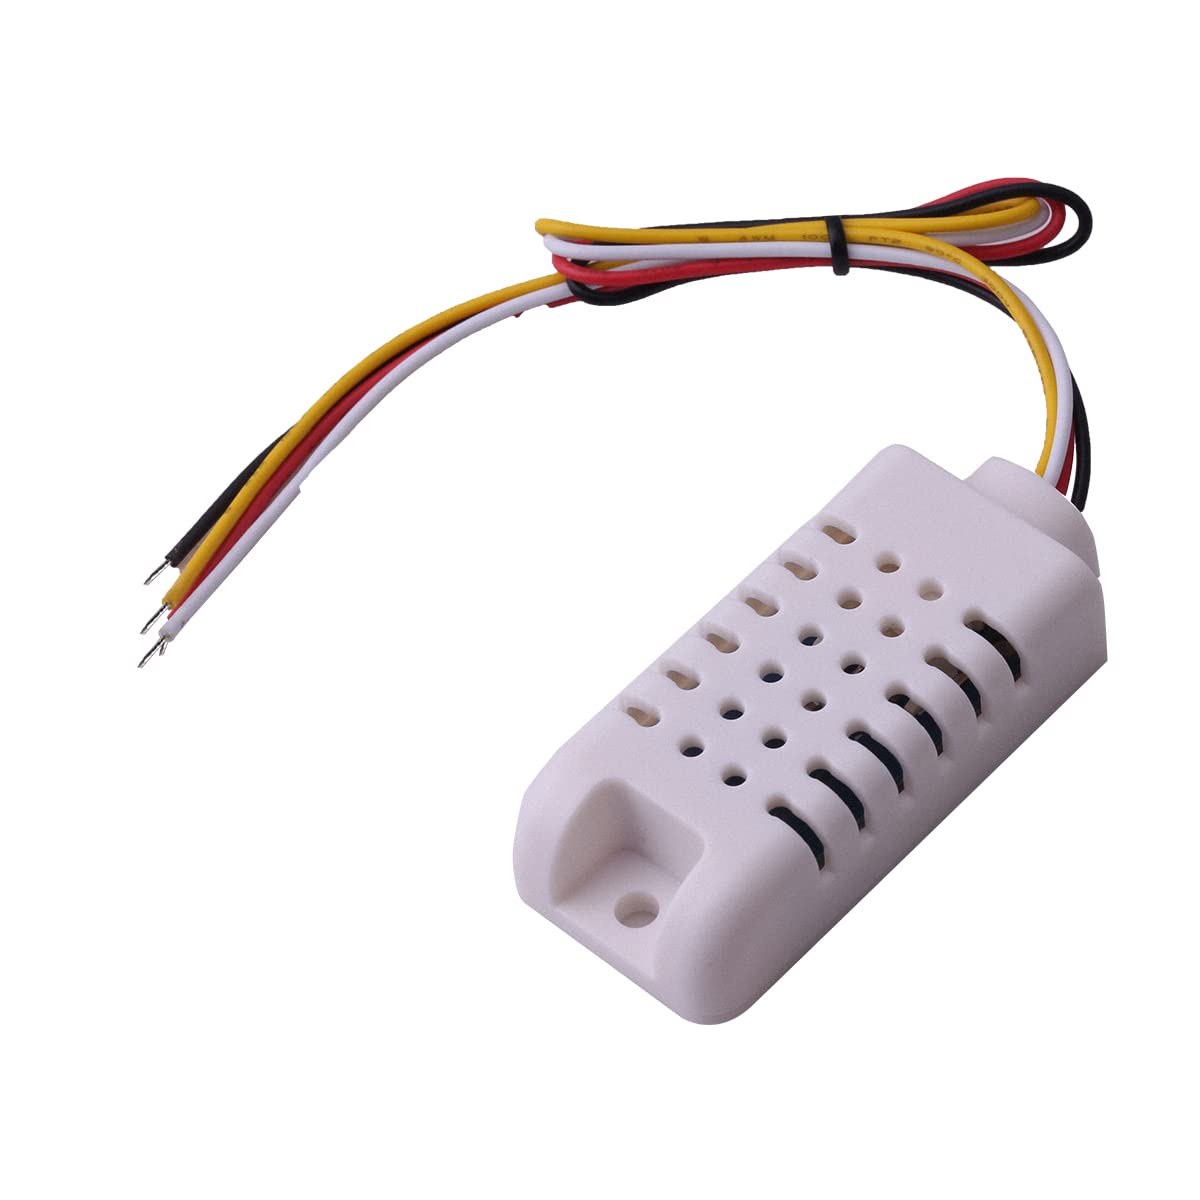
- 1x SHT30 Temperature and Humidity sensor (30cm / 1ft cable)
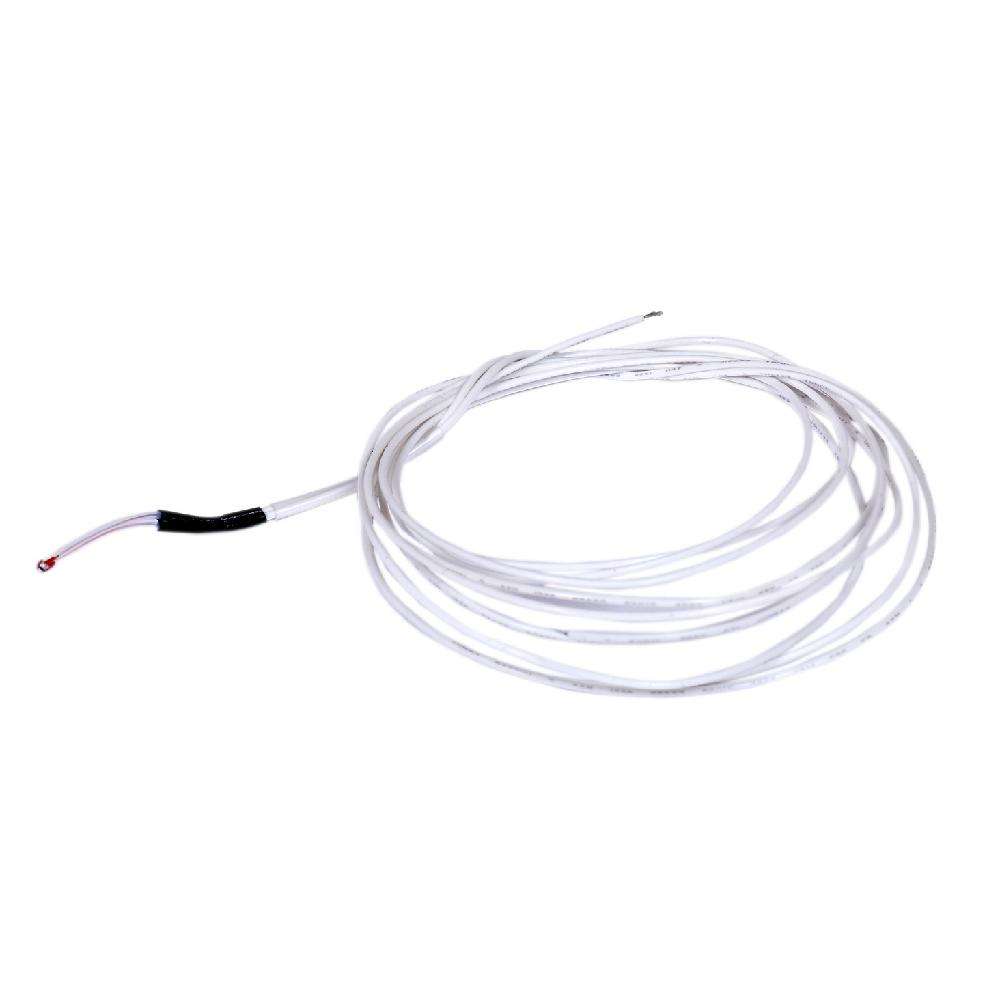
- 1x 100K NTC probe (30cm / 1ft cable)
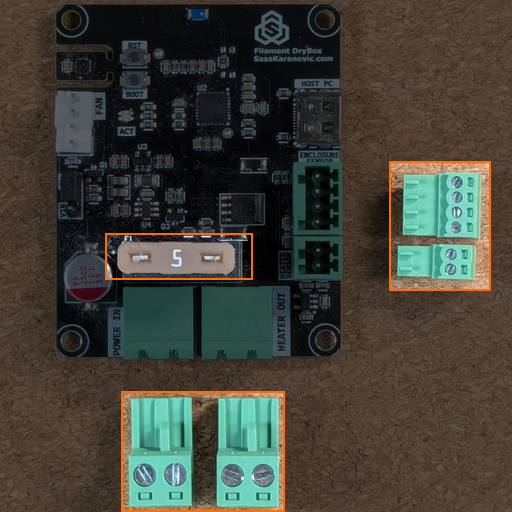
- 1x 2-pin terminal (2.54mm / 0.1" in for NTC sensor)
- 1x 4-pin terminal (2.54mm / 0.1" for inside temperature and humidity sensor)
- 2x 2-pin terminal (5.08mm / 0.2" for power and heater)
- 1x 2.54mm Jumper for selecting fan voltage (5V or VIN)
- 1x 5A blade fuse
NOT included (What you will need?)
Dry Box Enclosure
To complete the build you will need an enclosure for your filament dryer and a heater.
This enclosure has to be big enough to house your filament spool(s) and the heater.
The DryBox PCBA has to be on the outside of this enclosure!
There are multiple options available, from 3D printing your own custom enclosure to using an existing containers.
Heater
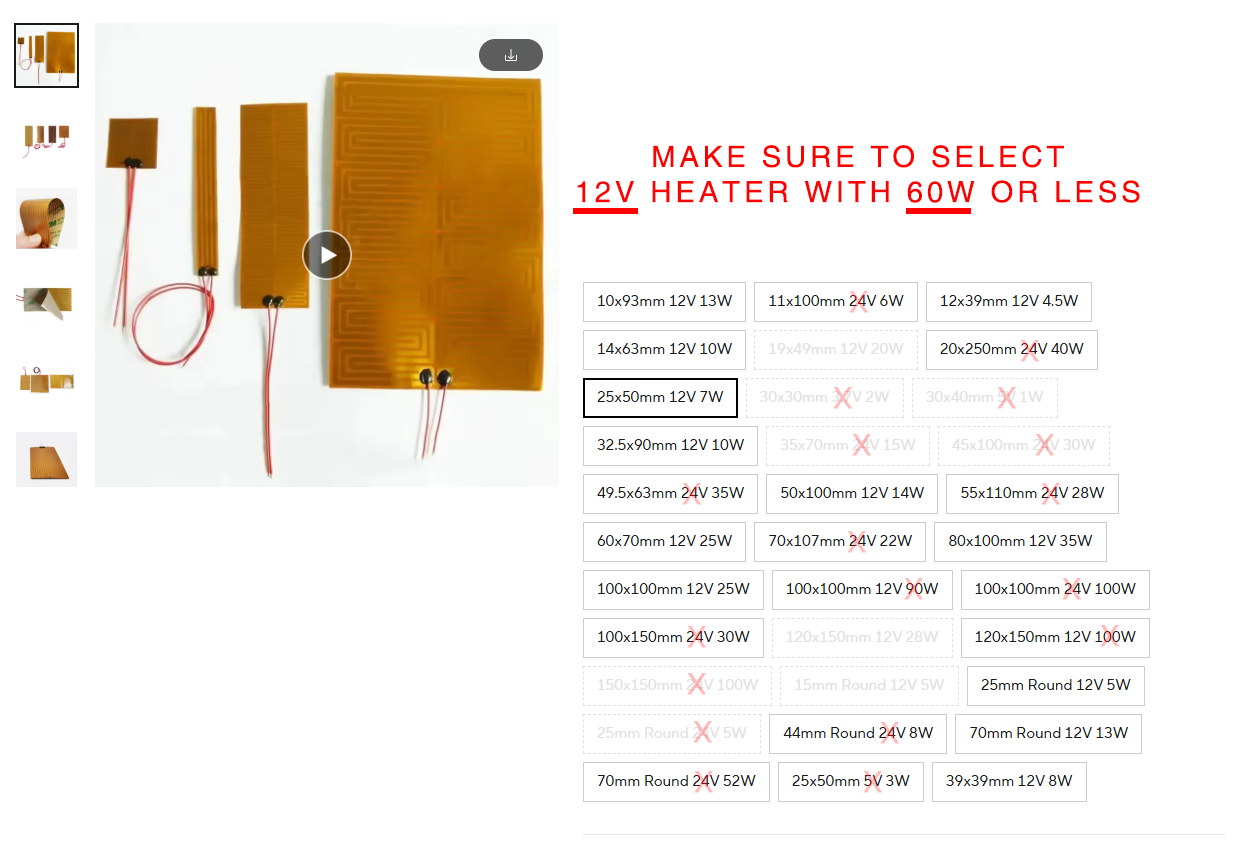
You will need a 12V heater that is 60W or less. For most cases 12-28W heater is more than enough.
There are multiple sizes and shapes available but there are two very important specifications to make sure:
- Heater voltage is 12V
- Heater power is 60W or less (current is less than 5A)
Power supply
You will need a 12V DC power supply.
Your power supply will need to supply power to the heater and the DryBox PCBA at the same time.
It's recommended to 'reserve' ~3-5W of power for powering the DryBox PCBA.
So for example if your heater is 30W, we recommend to use at least a 12V 35W power supply or higher.
Heater Power vs Heater current
Heater power is simply heater voltage multiplied by heater current P=V*I
In our case working voltage (V) is always 12V
So if your heater specification does not mention how much power it uses but it mentions for example 2A current draw, you can multiply 12V * 2A and calculate that this is a 24W heater.
Don't let too much (heater) power go to your (DryBox) head
While it might be tempting to go for the 'biggest' (60W) heater, it is often unnecessary or completely overkill.
This is because we are not trying to melt the filament, we just want to dry the moisture out by slightly increasing the temperature and leaving the filament in that environment for a couple of hours.
The higher power heater will allow us to reach the target temperature quicker, but if we have to leave the filament to dry for ie. 6-8 hours, it really makes little to no difference if the drybox reaches target temperature in 5 or 15 minutes...
PCBA Enclosure
To avoid damage and or accidentally making a short circuit on the PCB it is strongly recommend that you put the DryBox v2 PCBA into an enclosure.
Please note that DryBox v2 PCBA ships without an enclosure but you can easily 3D print one that fits your enclosure/use-case.
The STEP file of the PCBA is available in case you want to design your own.
Assembly
Once you have sourced all the necessary parts, you can move to assembling your dry box.
Designed by Sasa Karanovic of Karanovic Research and released as open-source and open-hardware.