Assembly - Warm-up
Before we start assembling our new DIY Dry Box, let's make sure we have all the required parts and tools ready.
Tools you might need
Wire Stripper
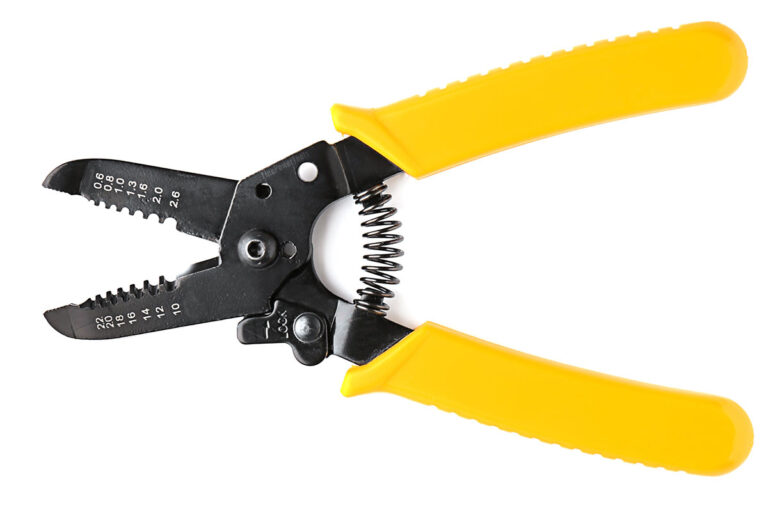
You will need wire strippers to cut and strip the insulation from heater wires, power supply wires, thermistor wires etc.
Screwdriver
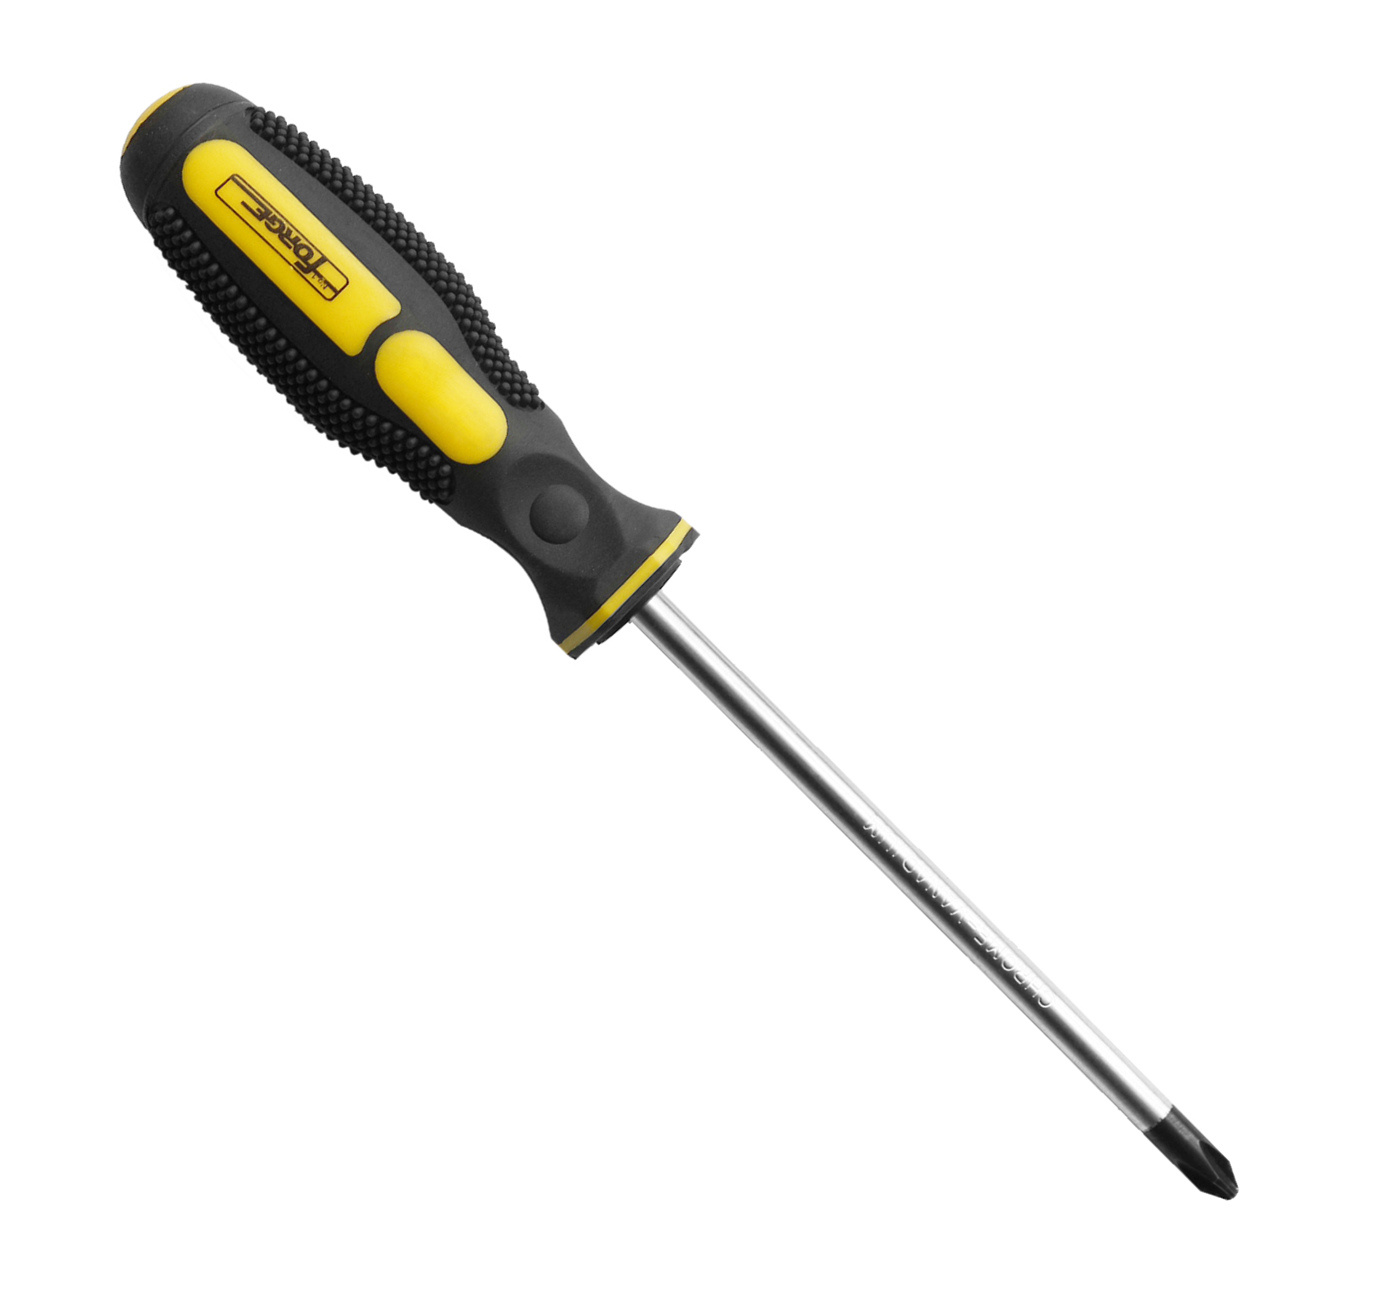
A screwdriver is required to attach all the wires to their respective terminal connections.
Drill and a drill bit (optional)
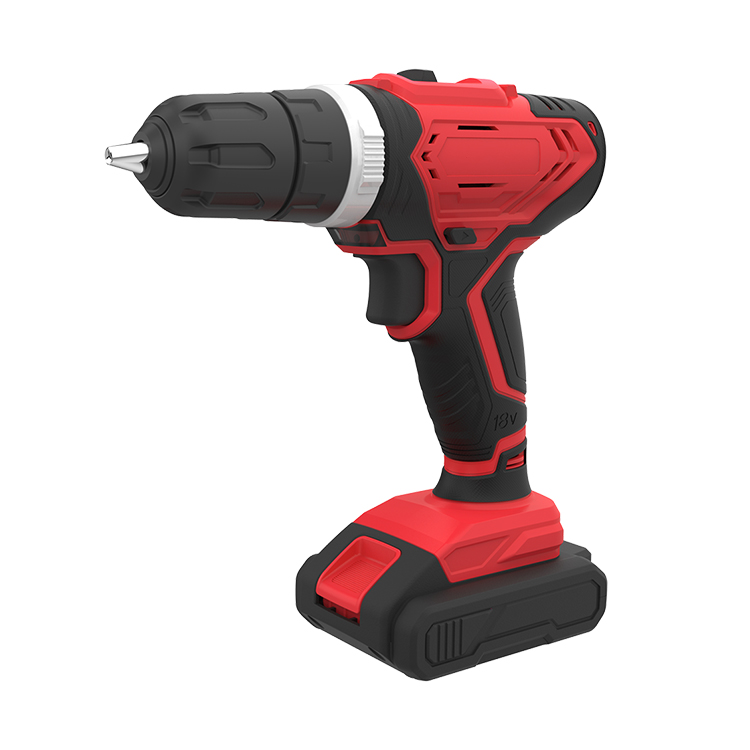
Depending on the enclosure you plan to use, you might need a drill and a appropriate drill bit to make small holes through which you can pass cables.
This is because the heater and heater sensor have to be inside the enclosure and the Dry Box PCBA has to be on the outside.
This means you will have to feed the cables through the enclosure and ideally through a small hole.
Insulation tape (optional)
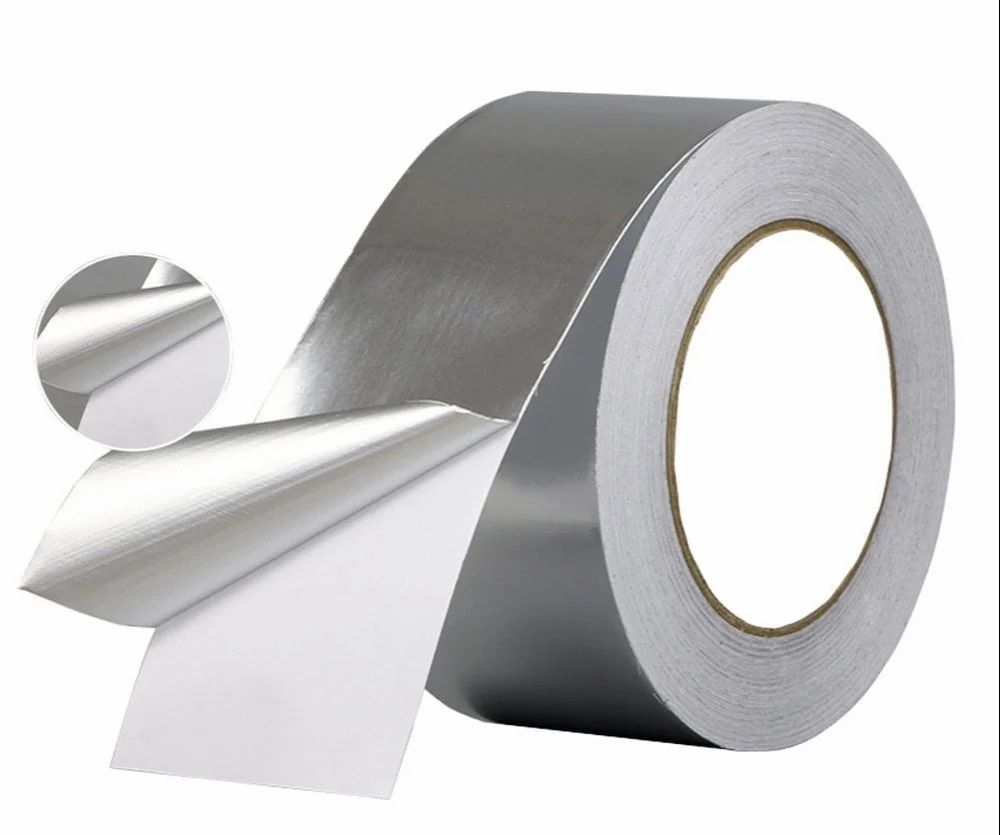
You will need a thermally insulating tape (ie. Aluminium or HVAC tape) to cover any large openings that you have (ie to pass wires) and to prevent the heat from easily escaping/leaking from the Dry Box enclosure.
Warning
Make sure that the tape you are using is designed to be used in high temperature environments and does not release any harmful gases when exposed to heat!
Required parts
DryBox v2 PCBA Kit
If you have purchased a DryBox v2 PCBA Kit from the Web Shop, then all of the items shown in the images below are already included in the kit.
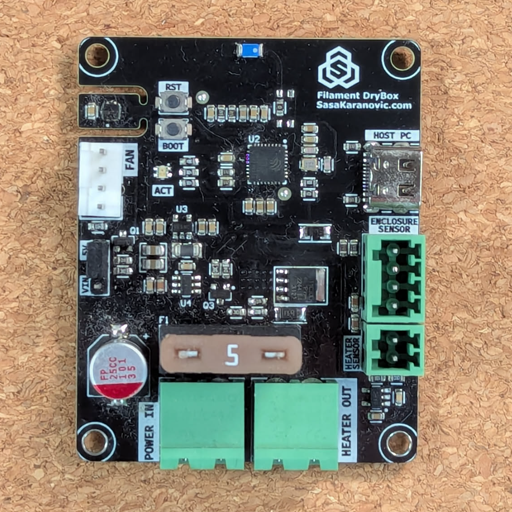
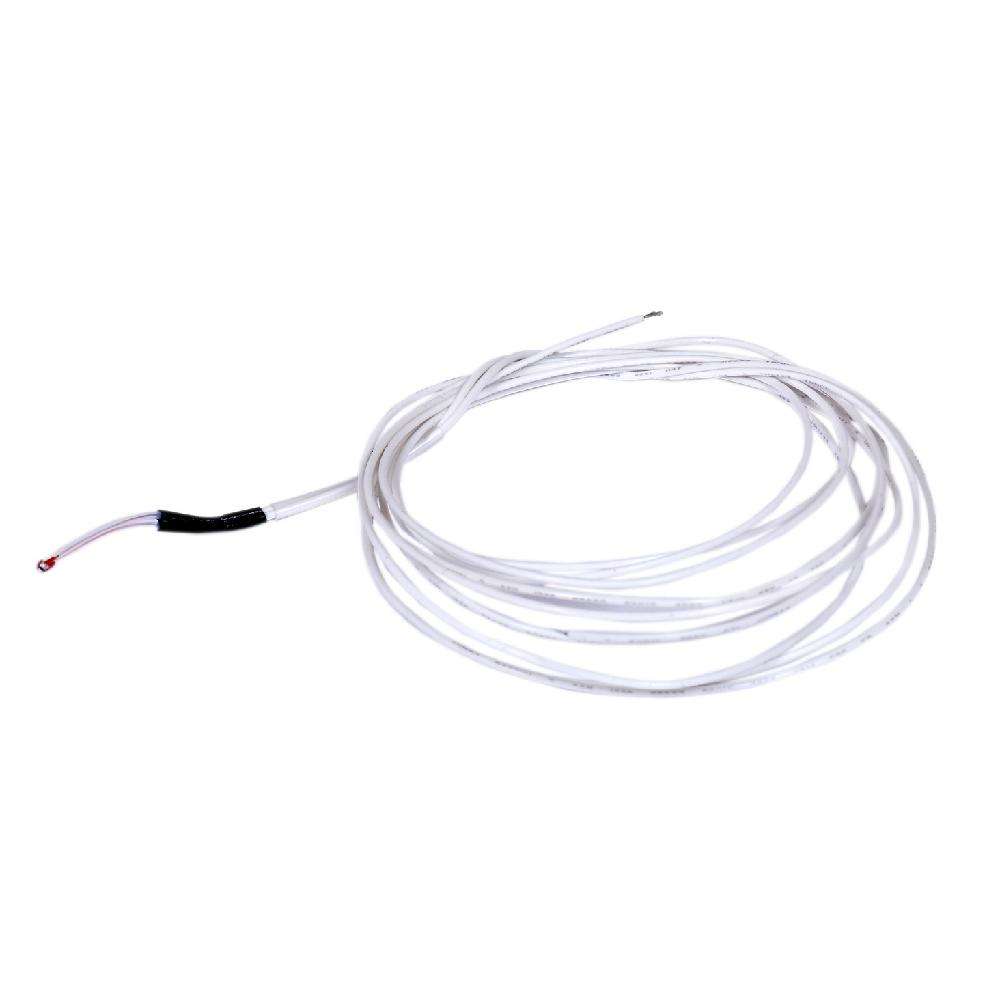
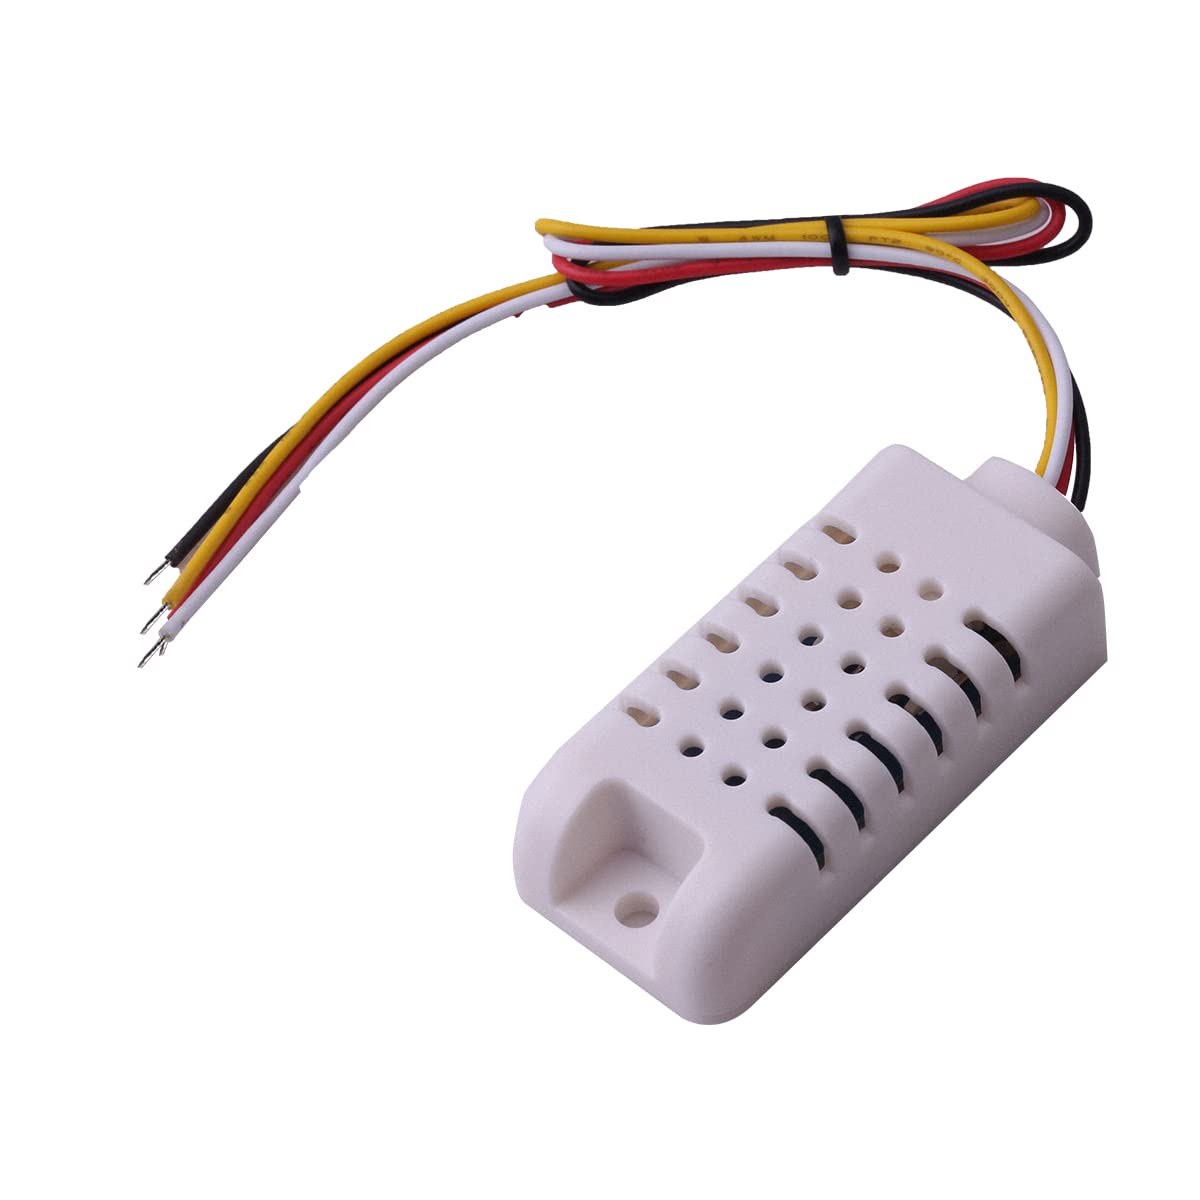
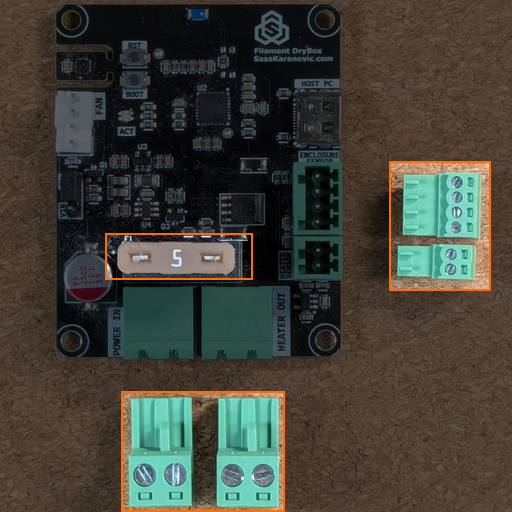
Alternatively you can build your own PCBA by using the design files (available on GitHub).
If you are building the PCBA yourself, make sure to also source these parts
- 100K 3950 NTC Thermistor
- SHT30 Temperature and Humidity Sensor
- 5A* Blade Fuse
Self sourcing additional parts
DryBox v2 design intentionally uses very common (and generic) components so you should be able to easily source these online (ie AliExpress, eBay, Amazon etc) or from your local distributors.
Or maybe you already have these components handy or can easily recycle them from other/older equipment.
*Fuse selection
If your heater will draw less than 5A, for example if you have a 12W heater that draws 1A.
You should also downsize your fuse to 1A or 2A.
12V Heater (NOT included)
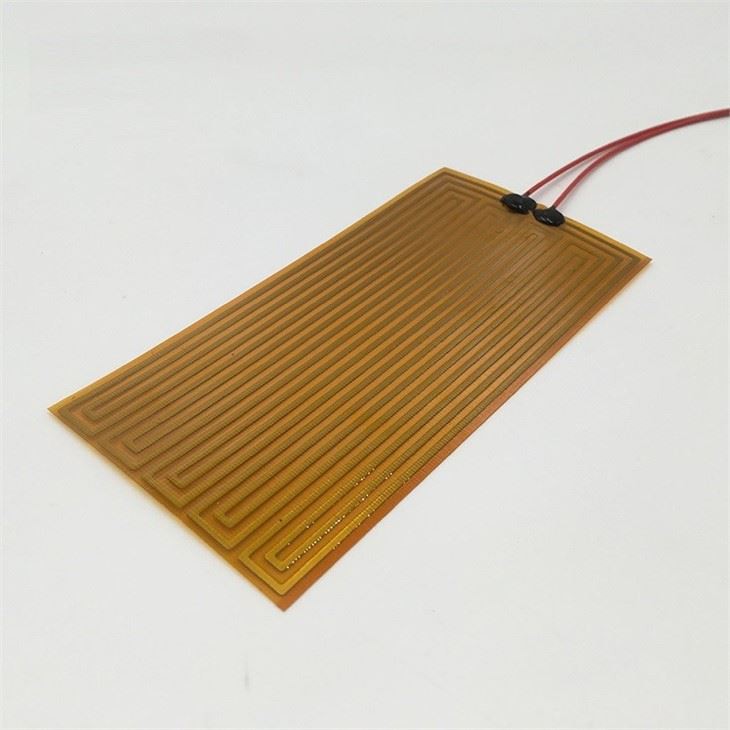
You will need a 12V heater that is 60W or less.
Using a Polyimide Kapton heater is recommended.
You can attach this heater to a piece of metal/aluminium to act as a radiator.
Dry Box Enclosure (NOT included)
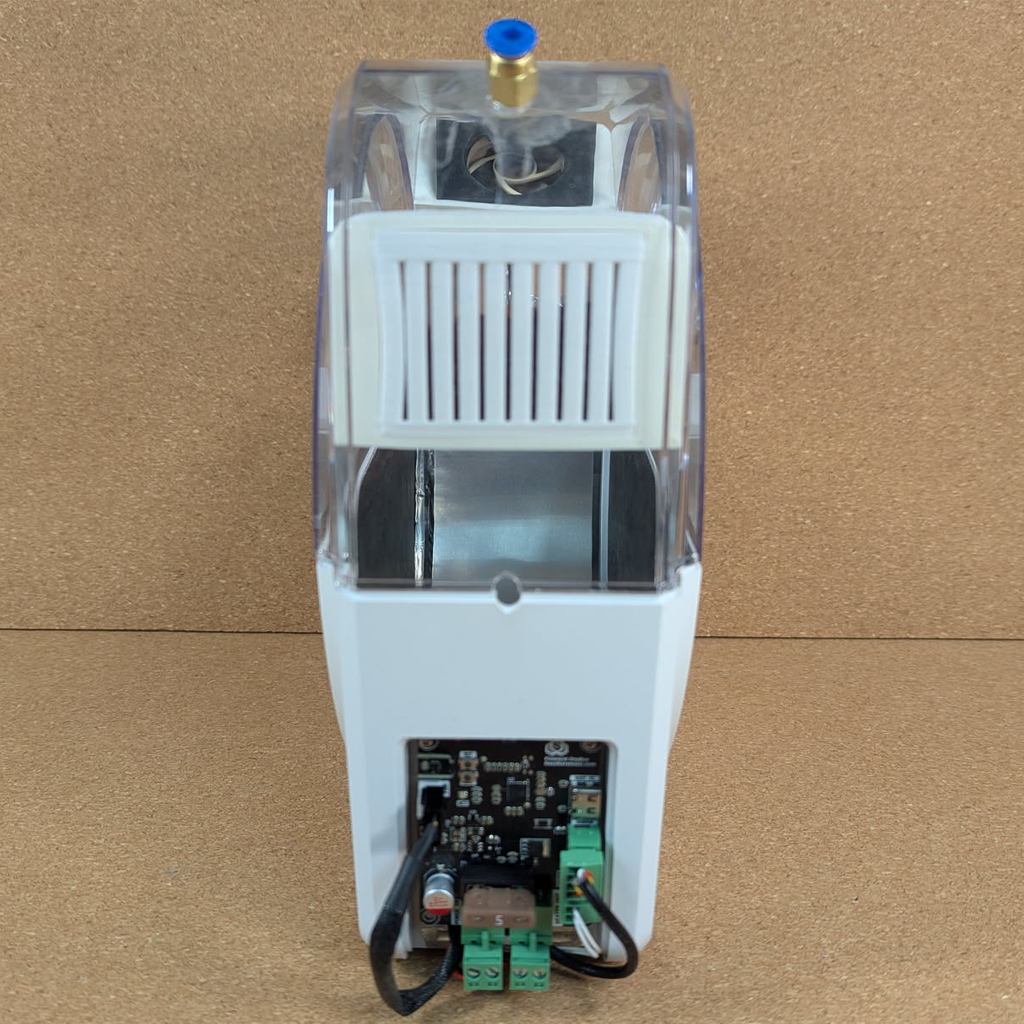
Finally we will need an enclosure to put all of these together and also our filament.
For my build I have re-purposed an existing Dry Box that I wasn't happy with but you could use anything that can hold your filament and all the electronics.
You could design a custom 3D printed case or you can use off-the-shelf enclosure (ie plastic storage box)
Enclosure material
We are going to heat the inside of whatever you plan on using as the enclosure.
Make sure material will not melt and is safe for use in high temperature environment.
Thermal conductivity and leakage
It's desirable that your enclosure can "hold" the heat well without too much leaking.
Consider if your enclosure is insulated properly and if you can seal it properly.
We don't need to heat the entire universe, just a very tiny portion of it. :)
12V or 5V fan (NOT included)
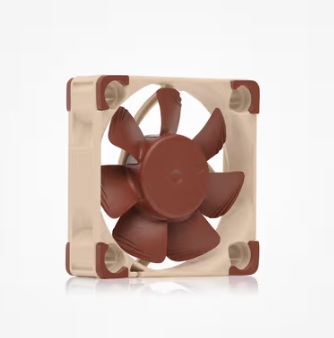
You will need a 4-pin PWM fan that is designed for either 12V or 5V operation.
This fan will be used to circulate/exhaust air inside the enclosure.
You should select the size of the fan based on your enclosure size and how much space you have inside.
The DryBox v2 has a small jumper that allows you to easily select if the fan should be powered by 12V or 5V.
4-pin PWM Fan and stop at 0%
4-Pin PWM fan is used so that we can not only measure the RPM of the fan but also control the fan speed.
Make sure that you get a fan that will fully stop when the PWM is at 0%.
There are certain PWM fans that will run at very low RPM (ie 350RPM) instead of fully stopping when the PWM is 0%.
Fan size and noise
We really don't need to make a tornado inside our dry box, so pretty much any fan should do the job of forcing some air movement inside the dry box.
Keep in mind that any fan will create noise when running, so if you want your dry box to be near silent, select a good quality fan.
12V Power supply (NOT included)
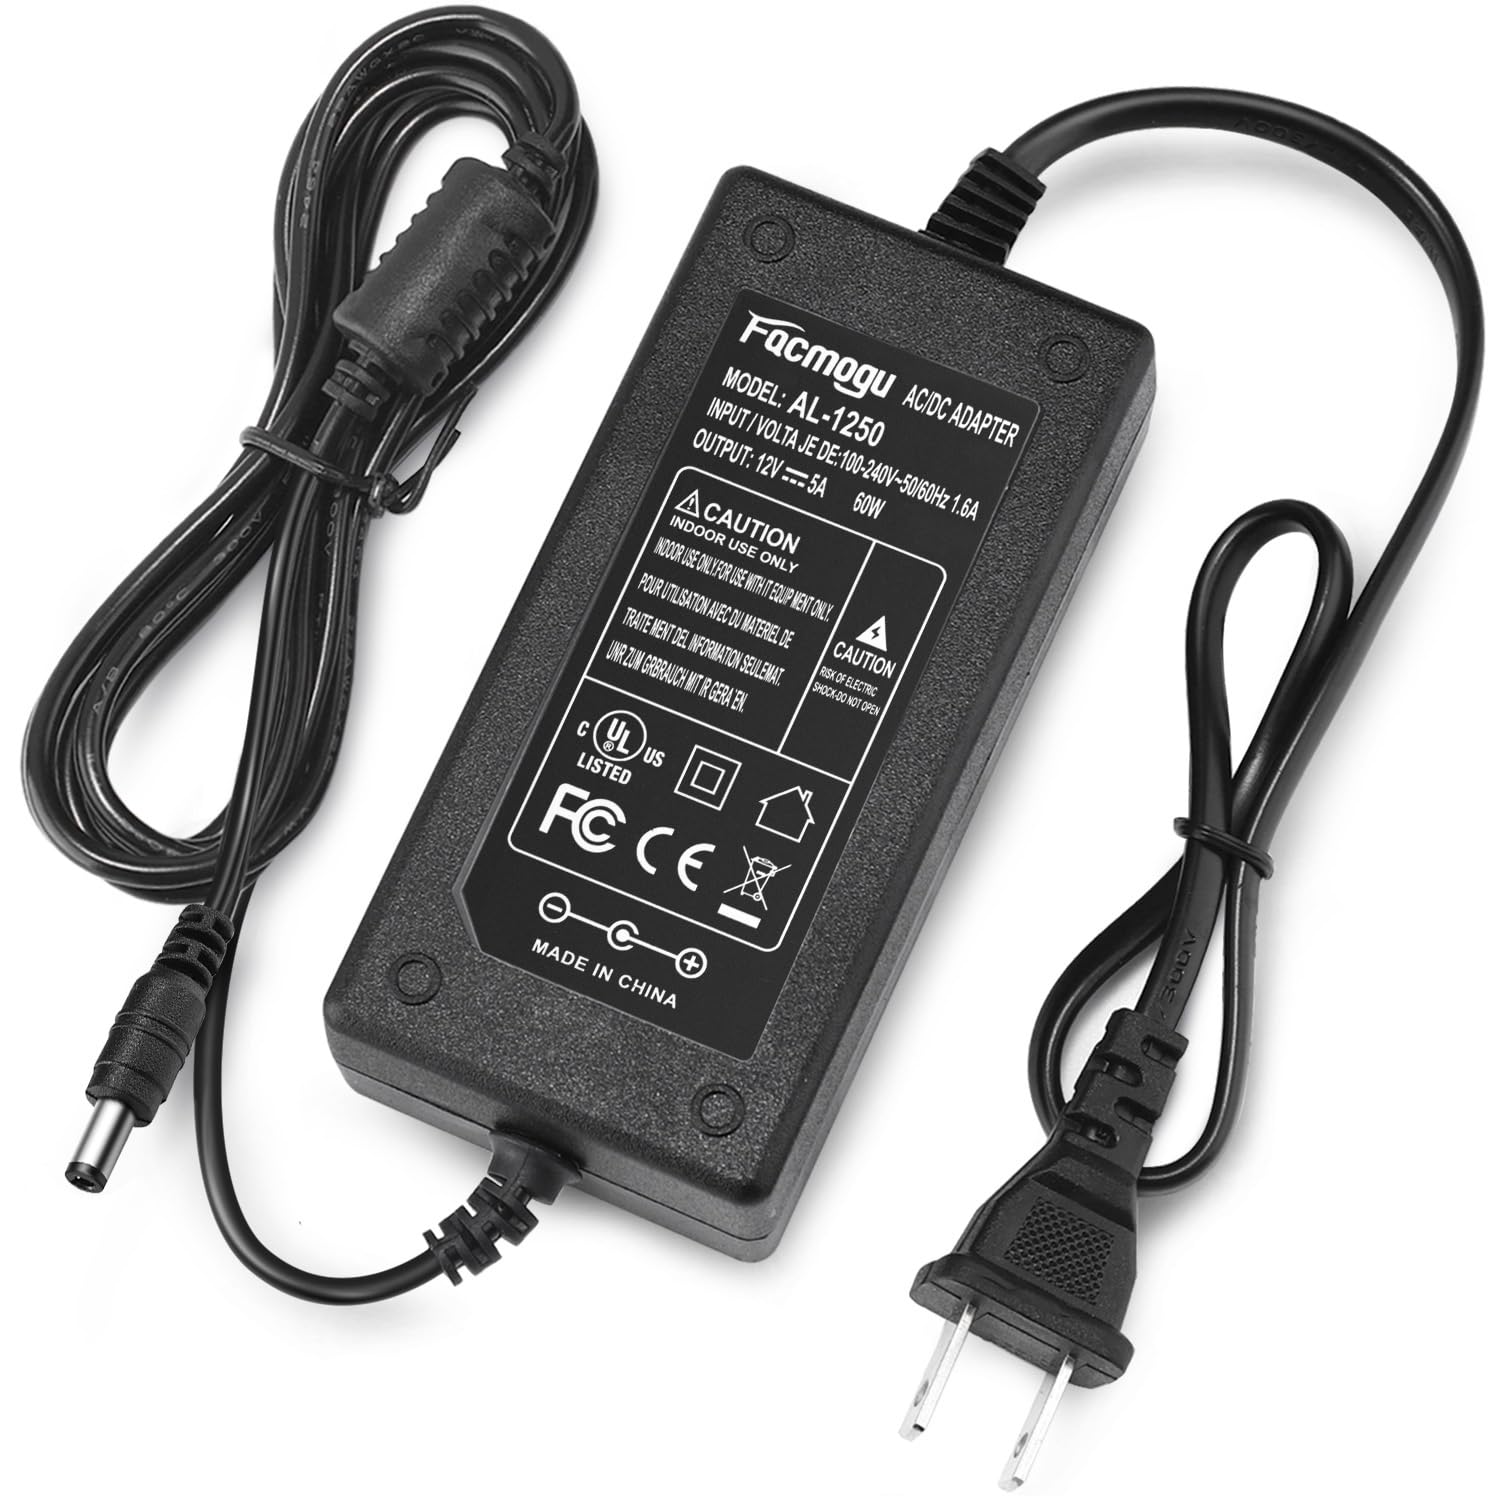
Finally we need to power our entire system. For this we need a 12V DC power supply.
You will have to make sure that your power supply can provide enough current for the entire system.
How much power do you need?
The power supply should be rated for at least your heater power W + an extra ~10 W (roughly 3-6W for your fan and another 3-6W for the DryBox PCBA).
For example if your heater is 60W (5A), your power supply should be at least ~72W (6A) or more.
More is better than less
If your power supply is undersized you might experience issues where the dry box can't heat up or heats up too slowly or keeps resetting/rebooting.
Heater Power vs Heater current
Heater current is simply heater power divided by heater voltage I = P / V
In our case working voltage (V) is always 12V
So if your heater does not mention current draw but it says that it's a 24W heater.
We can divide the heater power (24W) with our voltage (12V) and we will get that the heater draws 2A.
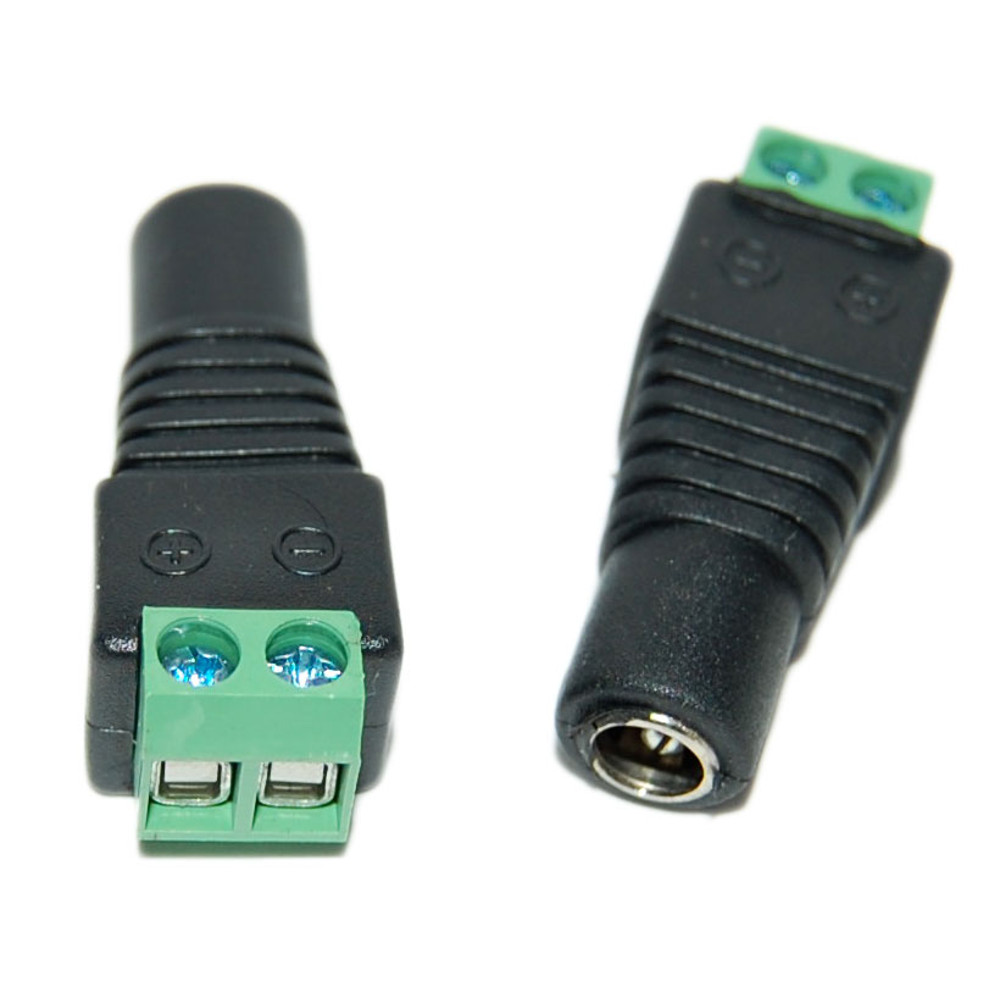
Barrel jack to terminal (optional)
In order to avoid requiring you to crimp or make custom cables and connectors the DryBox v2 PCBA design is not using any special connectors.
Because of this terminal plugs are used which allow you to easily attach almost any piece of wire to a terminal plug that then connects to a mating terminal on the PCBA.
However if your power supply comes with the barrel jack, you will need to either:
- A: Cut the barrel jack connector and connect wires directly to the terminal plug
- B: Get barrel jack to terminal adapter and use a piece of wire to connect the two terminals
Ideally, the option A is recommended because it reduces the number of potential failure points. However this means that you are permanently "modifying" your power supply connector.
Alternatively if you choose to go with the option B, please make sure that your adapter is of good quality and that it can handle the current that the power supply is going to supply to the dry box (ie at least 6A) without melting or deforming.
Now that you have everything ready, we can get to putting it all together